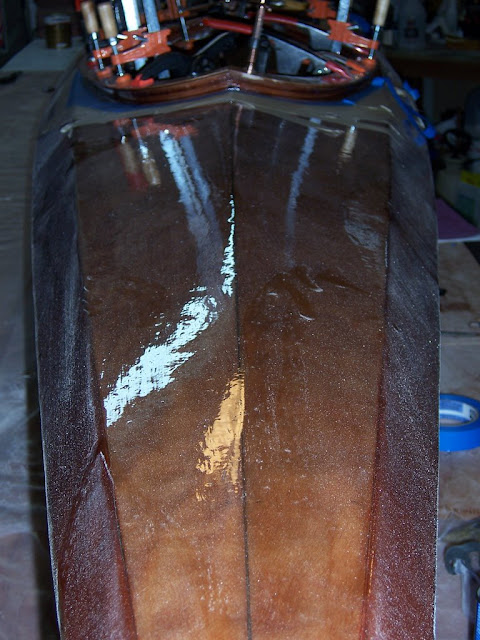
Tonight was the night to attach the combings to the deck around each seat opening. (The combings serve two main purposes: 1 - to attach your spray skirt bungie's around and keep water from entering your kayak when you're paddling on a rough lake or in ocean swells; 2 - they add strength to the area around where you sit, rest your arms, and push on to get into and out of the kayak.)
Since Allan has so much previous kayak building experience, I took his advice to heart when it had to do with ways to improve on the Pygmy instructions. He had suggested I fiberglass both sides of all the combing pieces to make them even stronger. I had done this ahead of time and then sanded the combings (prepping them for attachment to the deck).
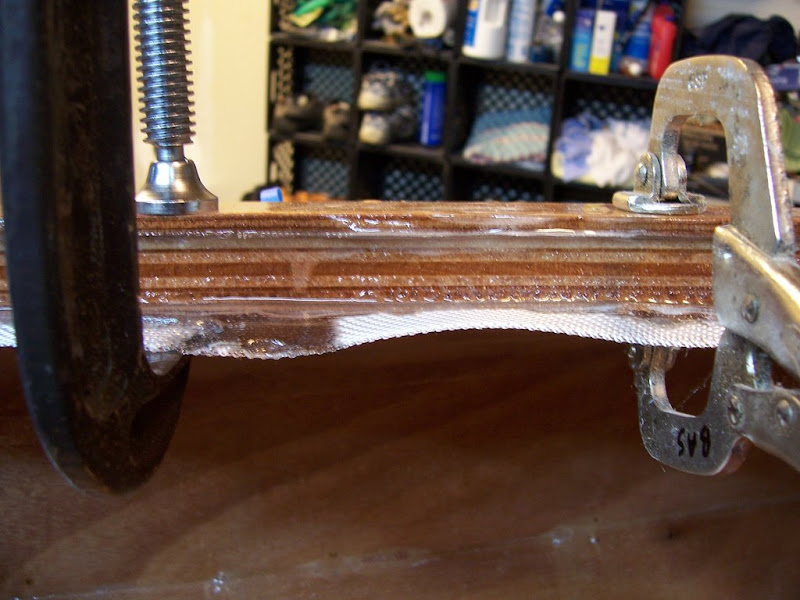
Allan finshed them by setting the combings on the deck, marking where they needed to be cut and then using my Japanese saw to size them correctly. We sanded the deck around each hole. We applied masking tape about 2" out from edge (to help reduce drips). Next we applied epoxy to the underside of the combing, a strip of the fiberglass tape, wetted that glass, turned it over and positioned it on the deck, and then clamped it down lightly with C-Clamps.
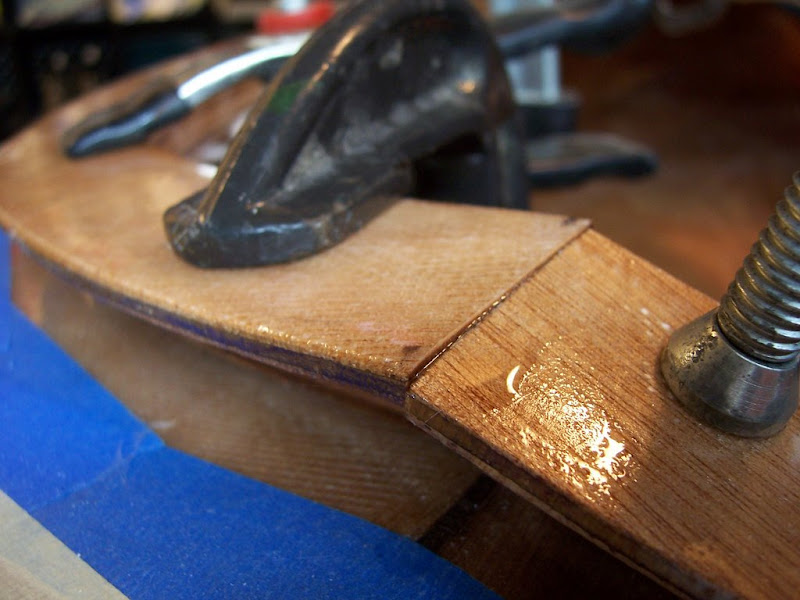
Once they were in place, Allan helped adjust them so the seams matched as closely as possibly and all the edges were also matching the deck opening. This was a bit of an art - as clamping down had a tendency to cause things to shift a bit, so we loosened and retightened the clamps several times on the first combing . . . less on the second and third. Here's a close-up of one of the seams. (It's pretty close but will need some sanding for perfection.)
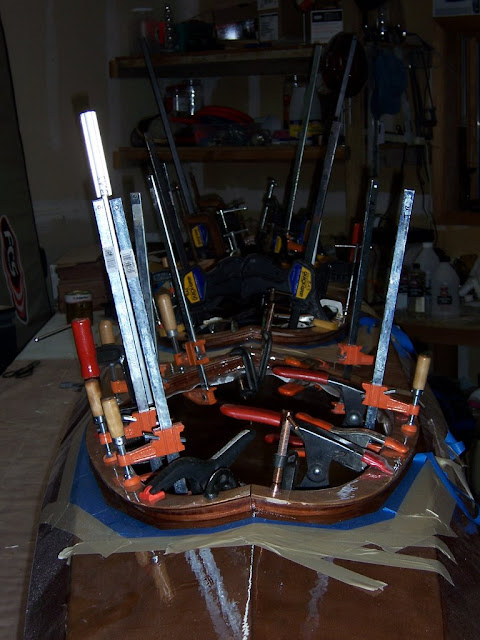
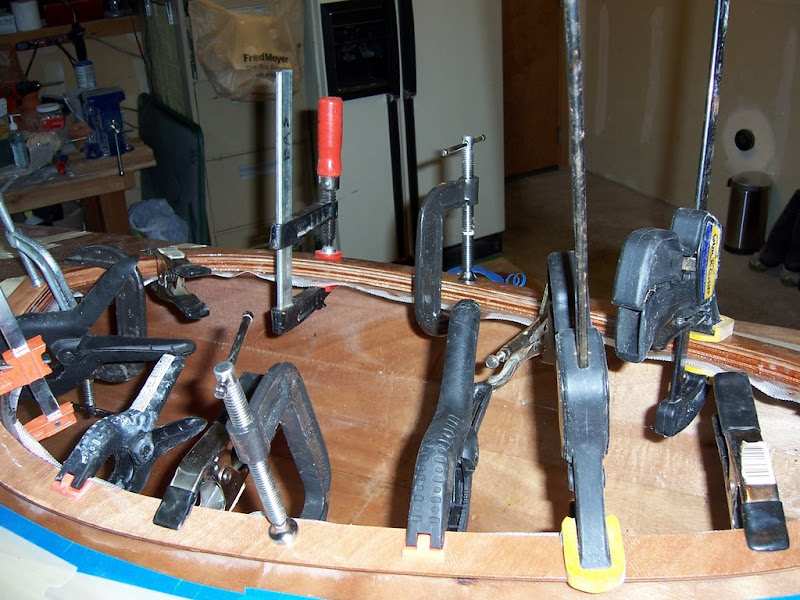
We wanted to make sure the combings fully bonded with all the deck surface around the hole, so 5-6 clamps per side were needed. I quickly used up all of the C-Clamps I had from my buddies (Brent S. and Allan) and had to run across the street to my neighbor (Adrian S.) to borrow all of his clamps. Luckily I had also purchased five new ones the evening before at Home Depot (I think I'm one of their best customers lately . . . don't ever ask a boat builder how much it actually cost to build it.) ;-)
A look at the combing clamped down from inside.
Once we had everything clamped down I took several photos - it just looked so interesting with all the different shapes and sizes of C-Clamps.

I let everything dry overnight before attempting to start my finish sanding.
No comments:
Post a Comment