I poured the epoxy/hardner mix into a paint tray, and then used the 1/8" foam roller that Pygmy recommended in the manual. Then I laid the fiberglass over the hull and applied a saturating skim coat over the top of the fiberglass. I used a home made squeegy that consisted of a block of wood with rubber (from an old yoga mat) wrapped around it and secured with some wood screws. I obviously held the screw side toward the palm of my hand and it worked great to skim the epoxy mixture from the keel down to the edge of the boat.
This process of skimming seemed to work just fine. I didn't notice any air bubbles under the cloth. I would regularly wipe off the squeegy with one of my rags and disgarded all the glue that was skimmed off.
I turned down the heaters slightly in the garage (the manual said to ensure you didn't allow the temperature to rise during this drying process - because the wood can release bubbles if the temperature is rising) and planned to allow the newly fiberglassed hull to dry. I was really getting excited about the progress!
Disaster
I checked the hull the next morning. It was still sticky to the touch. I left it alone and waited another night. The second day it was still tacky in several places. I did some research and read that the epoxy would cure faster in slightly colder temps, so I turned down the heaters even more (down to the mid-60's) and left it another night. The next day I checked it again; it still was not dry.
I didn't know what was going on! I raised the temp to 70 and tried blowing some fans on the hull. Nothing I did worked. The epoxy wouldn't dry. I called System 3, got their answering machine, and left a message explaining the situation.
Since this is my first boat building experience, I didn't now what to expect. I had no experience with epoxy, but everything up to this point seemed to work fine. The 2:1 mixing ratio was simple enough . . . and the pumps in the bottle made that process even easier.
About an hour later a System 3 technical support person called me back. I explained the entire problem once again and he indicated that by relying on the pumps I had probably mixed the epoxy and hardner at the wrong ratio. He said I should ditch the pumps and rely entirely on mixing cups that clearly had the measurements on the side. Okay, I thought, I'll do that going forward, but what about the crap on my boat that won't dry?
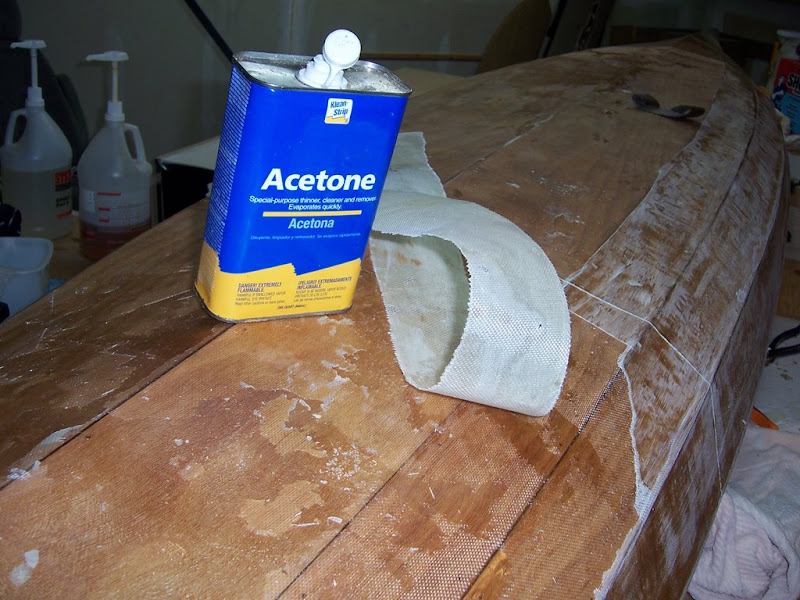
He said, "You'll need to scape it all off - preferably down to the bare wood and then start over. Use acetone and good scraper."
I was crushed.
But I was still in the mindset that I must have mixed the epoxy wrong and thought it was somehow my fault. I started the process of scraping the uncured epoxy off the boat and tearing up the fiberglass (because the epoxy underneath had not cured either). It was incredibly laborious, disheartening, and painful to take such huge steps "backward" in the process.
Here's what it looked like once I started peeling off the fiberglass . . . it was still tacky underneath. Not Good!

Here's what it looked like as I started the scrape and tear-off session.
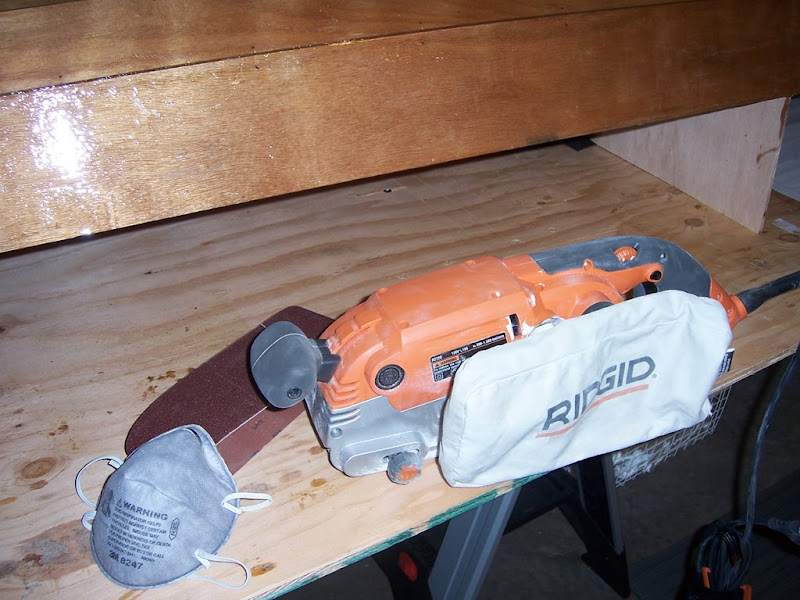
The manual scraping was taking day after day, weekend after weekend. I finally broke down and bought myself a belt sander. I had had it with this manual stuff. I drove down to my local Home Depot and found one of the best belt sanders on the market. I was concerned about all the epoxy dust it was going to create, so I bought one with a good dust bag (and I also got myself some good googles and 3M masks).
The belt sander did the trick. I probably went through about 1 dozen sets of sand paper (because they would get clogged up quickly with the uncured epoxy). At first I would try and scrape some of the glue off the sand paper, but I quickly resolved myself to the fact that I was going to go through one after another.
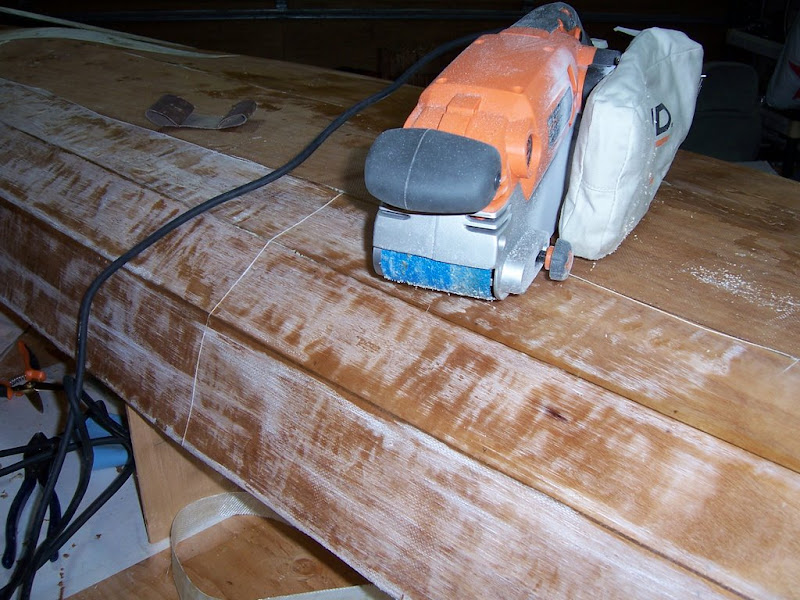
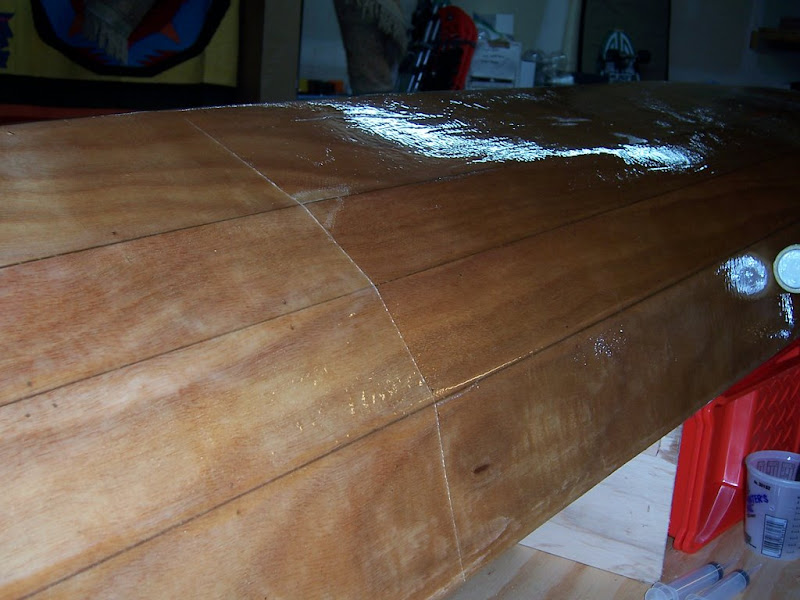
Later that weekend I succeeded in stripping all the uncured glue and fiberglass off. I was back down to bare wood and had been carefull not to sand "into" the wood itself. Well, let's just say there were a few places where I started to . . . but quickly stopped before it got too deep. You can see below where I was able to stop because the bow and stern had been completed with the previous bottle of epoxy and cured just fine.
Once I got to this stage - I was feeling better (hey, I wasn't thinking about burning the entire boat in my fireplace anymore ;-p ) and I started wondering whether it truly was my mixing the epoxy - hardener incorrectly, or something else. I mean, I had to know whether to try and use the rest of the bottles I already had . . . or get rid of them and use something else. I decided to do a little experiment. I used one of my small paint cups with the ounces clearly marked on the side. I used the pumps, but measured just to be certain.
Two pumps epoxy . . . yes, it was right on, 2 oz. One pump hardner . . . yup, that's correct, 1 oz. Okay, mix it thoroughly, and now pour it into another container and let it harden.
The next day I came out and checked it. Normally the mixture would have heated up and turned as hard as a rock. My mixture was not. Oh sure, part of it had partially cured, but the top layer was still wet and sticky. I cut the top off the plastic cup I had used for curing (which, by the way, would have been melted under normal curing conditions.) This is what my mixture looked like:
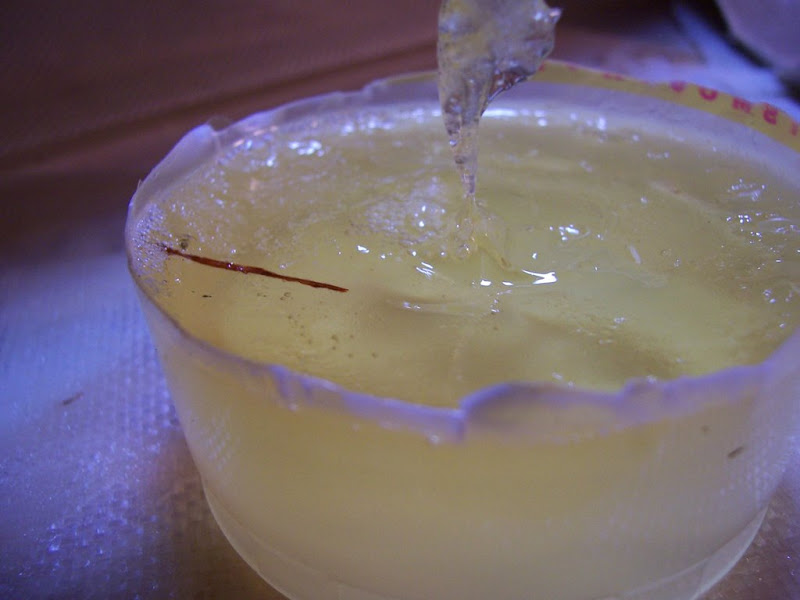
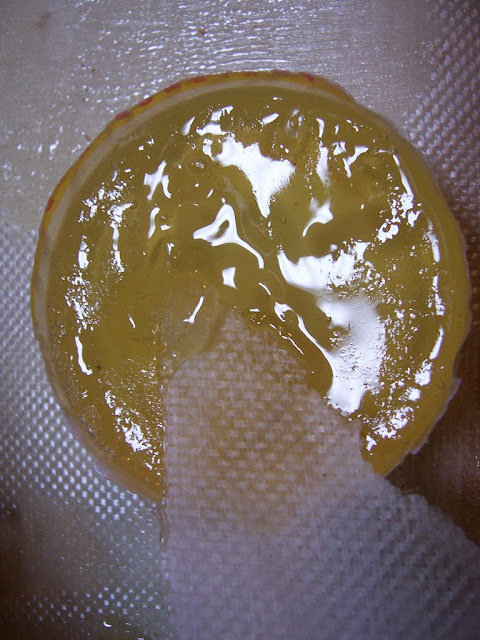
I scoop some of it up with a piece of fiberglass. Obviously not fully cured.
I had gotten a bad bottle of epoxy from Pygmy and System 3. Wow, it really wasn't something I had done wrong! Despite all the work I just gone through to fix the boat, at least I felt somewhat vindicated knowing it was bad material.
Next time . . . how I recover from this and finish the hull.


